Sender Identities
Sender identities are the email addresses and domains your agents and team use to send emails and SMS. Setting up proper sender identities ensures your outbound messages come from professional, branded addresses instead of generic ones.
Accessing Sender Identities
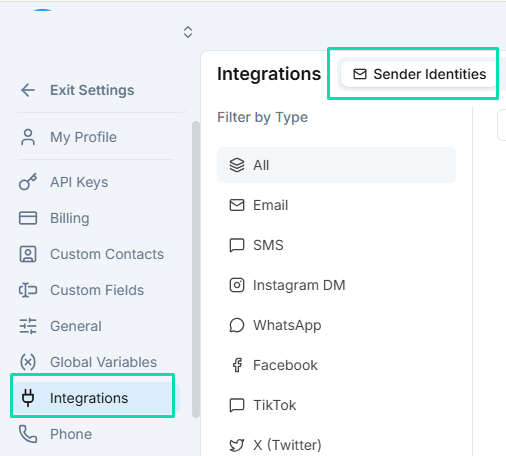
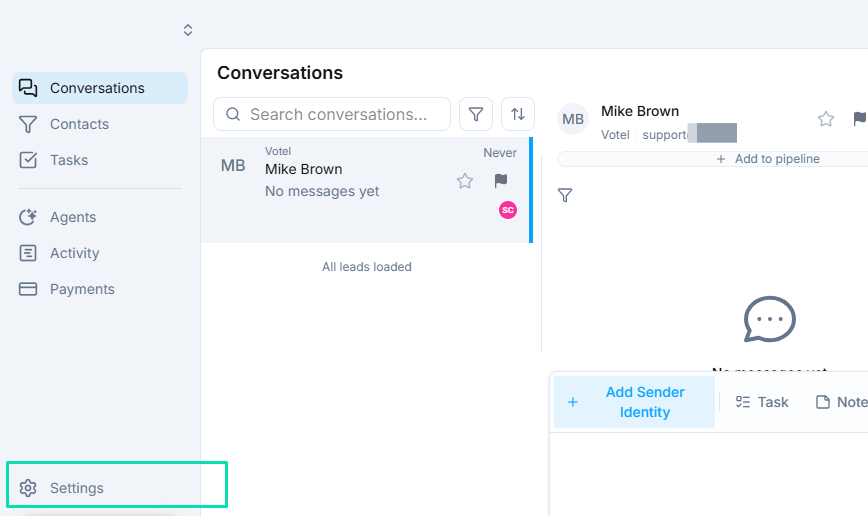
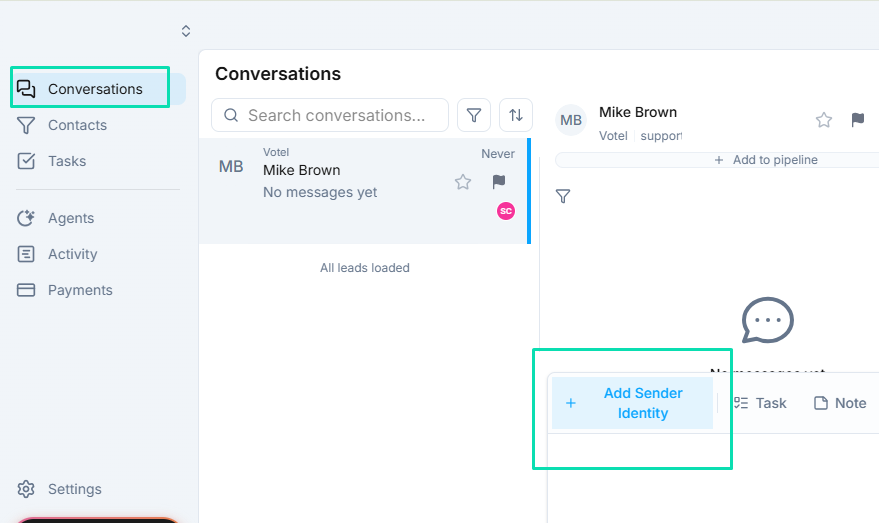
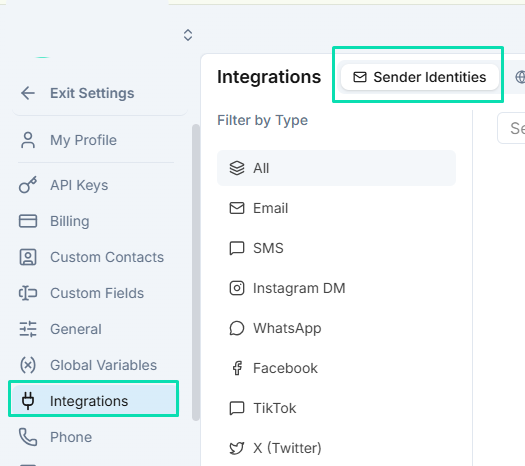
You can manage sender identities from two places:
- Conversations page --- click the gear icon to access sender settings directly from your inbox.
- Settings > Integrations --- find sender identities in the integrations section of your settings menu.
Both paths lead to the same configuration screen.
Connecting Your Email Domain
To send emails from your own domain (e.g., @yourbrand.com), you need to verify and connect it:
- Go to Settings > Integrations > Email Domains and click Add Email Domain.
- Enter your main domain, such as
yourbrand.com. - Add the required DNS records (SPF, DKIM, and DMARC) to your domain provider.
- Wait for verification to complete. This confirms you own the domain and authorizes the platform to send on your behalf.
Once verified, you can create sender addresses on that domain.
Connect email on your main (root) domain, yourbrand.com, not on a subdomain. A white label login subdomain such as app.yourbrand.com cannot carry email: a login address uses a CNAME record, and DNS does not allow email records on the same name. See Custom Domain for the login side.
One SPF Record per Domain
A domain can have only one SPF record (the TXT record that starts with v=spf1). If your domain already has one, for example from Google Workspace, do not add a second record. Edit the existing one, keep every include: already in it, and add the one the platform shows you.
For example, if your domain already publishes:
v=spf1 include:_spf.google.com ~all
and the platform asks for include:mailgun.org, change that same record to:
v=spf1 include:_spf.google.com include:mailgun.org ~all
Watch for the most common typo, a missing space before ~all. This record is invalid and email will not pass SPF:
v=spf1 include:_spf.google.com include:mailgun.org~all
Every term needs a space before it, including ~all at the end.
Creating Sender Addresses
Set up multiple sender identities for different purposes:
sales@yourbrand.com--- for outbound sales sequences and follow-ups.support@yourbrand.com--- for customer service and ticket responses.noreply@yourbrand.com--- for automated notifications that do not need replies.
Each identity can be assigned to specific agents, workflows, or team members.
Shared Identities
By default, a sender identity is available only to the user who created it. Enable the shared option to make an identity available to your entire team. Shared identities are useful when multiple team members or agents need to send from the same address (e.g., a general info@ or support@ address).
Next Steps
- Conversations --- use your sender identities when replying to customers in the inbox
- Email Node --- send automated emails from workflows using your sender identities
- SMS Node --- configure SMS sending in your agent workflows